The graphical internet is nearly 3 decades old (Mosaic was released in 1993). For most of that time, JavaScript has been the standard for we...

In my previous post, I showed you how to get up and running with ASP.NET Blazor web development. In this post, I will show you how to use the IJSRuntime feature of Blazor to call into JavaScript and use Esri’s ArcGIS API for JavaScript from within your C# application to create modern web mapping apps.
Calling into the ArcGIS JavaScript API
Open your Blazor application which you built off the Blazor WebAssembly App or Blazor Server App template. In Index.razor, remove all the code and replace with the following:
@page "/"
    @inject IJSRuntime JsRuntime

    <PageTitle>Index</PageTitle>
    <div id="view-div" style="height: 100%; width: 100%"></div>

    @code {
       protected override async Task OnAfterRenderAsync(bool firstRender)
        {
            await base.OnAfterRenderAsync(firstRender);
            await JsRuntime.InvokeVoidAsync("renderMap");
        }
    }
As you can see, this code is very minimal. It is just laying out a simple single
<div>
element with an id and then using the lifecycle event OnAfterRenderAsync to call into the IJSRuntime interface and invoke a JavaScript function by name.Some Blazor templates come with a predefined JavaScript file. If you don’t have one, go ahead and add exampleJsInterop.js (or give it a better name) inside the wwwroot folder. Replace any content with the following (taken straight from https://developers.arcgis.com/javascript/latest/display-a-map/, so all credit goes to Esri).
window.renderMap = () => {
    require(["esri/config","esri/Map", "esri/views/MapView"], function (esriConfig,Map, MapView) {

        esriConfig.apiKey = "YOUR_API_KEY";

        const map = new Map({
            basemap: "arcgis-topographic" // Basemap layer service
        });

    	const view = new MapView({
            map: map,
            center: [-118.805, 34.027], // Longitude, latitude
            zoom: 13, // Zoom level
            container: "view-div" // Div element
        });
    });
};
I won’t explain this code in detail. If you want more information, check out Esri’s ArcGIS API for JavaScript documentation. Note that you will need a free ArcGIS Developer account and to get an API Key from the Developer Dashboard. Enter this key in line 4 above. Use this for testing purposes only. You probably want to pass this in from somewhere secure for production.
To load your JavaScript file and the ArcGIS API JavaScript and CSS, add the following 3 lines to the head section of Pages/_Layout.cshtml.
<link rel="stylesheet" href="https://js.arcgis.com/4.23/esri/themes/light/main.css">
<script src="https://js.arcgis.com/4.23/"></script>
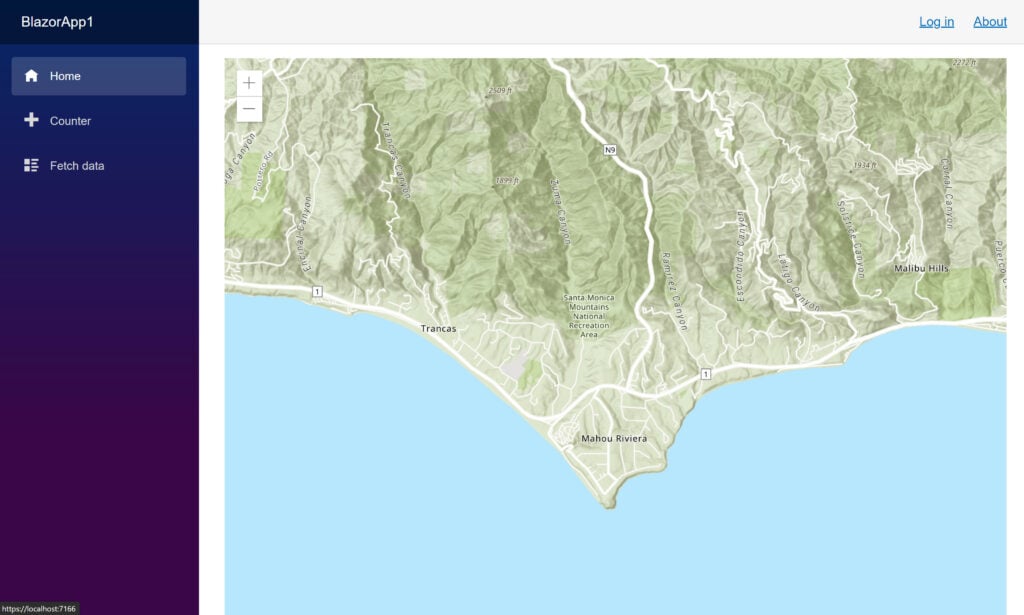
<script src="exampleJsInterop.js"></script>One final tweak. Open wwwroot/css/site.css, find .content, and inside the brackets add the line
height: 100%;. This is necessary to get the content <div> to expand along with the view-div.That’s it! Run your application again, and you should see a rendered map on the home page! Congratulations on creating your first ArcGIS web mapping app!
Wrapping the ArcGIS JavaScript API
From here, you could of course expand your JavaScript code to do really anything that Esri has envisioned. If you are comfortable writing in JavaScript, this is fine. But what if, instead, you could define your entire map in Razor Component syntax, seeing it inline with the rest of your UI?
<MapView Longitude="_longitude" Latitude="_latitude" Zoom="11" Style="height: 400px; width: 100%;">
<Map ArcGISDefaultBasemap="arcgis-topographic">
<LocateWidget UseHeadingEnabled="false" ZoomTo="1500" />
<SearchWidget />
<GraphicsLayer>
<Graphic>
<Point Longitude="_pointLong" Latitude="_pointLat"/>
<SimpleMarkerSymbol Color="@(new MapColor(226, 119, 40))">
<Outline Color="@(new MapColor(255, 255, 255))" Width="1"/>
</SimpleMarkerSymbol>
</Graphic>
<Graphic>
<PolyLine Paths="@_mapPath" />
<SimpleLineSymbol Color="@(new MapColor(226, 119, 40))" Width="2"/>
</Graphic>
<Graphic>
<Polygon Rings="@_mapRings"/>
<SimpleFillSymbol Color="@(new MapColor(227, 139, 79, 0.8))">
<Outline Color="@(new MapColor(255, 255, 255))" Width="1"/>
</SimpleFillSymbol>
<Attributes Name="This is a Title" Description="And a Description"/>
<PopupTemplate Title="{Name}" Content="{Description}"/>
</Graphic>
</GraphicsLayer>
</Map>
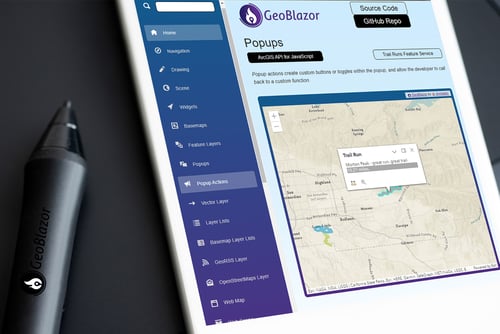
</MapView>Stay tuned for another follow-up post where I will share a new, upcoming Blazor ArcGIS API Wrapper NuGet package created by dymaptic but open-source and free to use! And remember to get in touch on Twitter, @TimPurdum, or @dymaptic, and let us know how we can help you in your development journey!
Related articles


In my previous post, I showed how to call the ArcGIS JavaScript API using the IJSRuntime from Asp.NET Blazor. Today, I’m happy to announce a...
This is a story about how I came to build the GeoBlazor SDK and component library. In 2022 dymaptic invited me to attend my first Esri Devel...